
Letter carving is an ancient and rewarding craft, beautifully blending artistry with meticulous skill; explore its depths through dedicated resources.
What is Letter Carving?
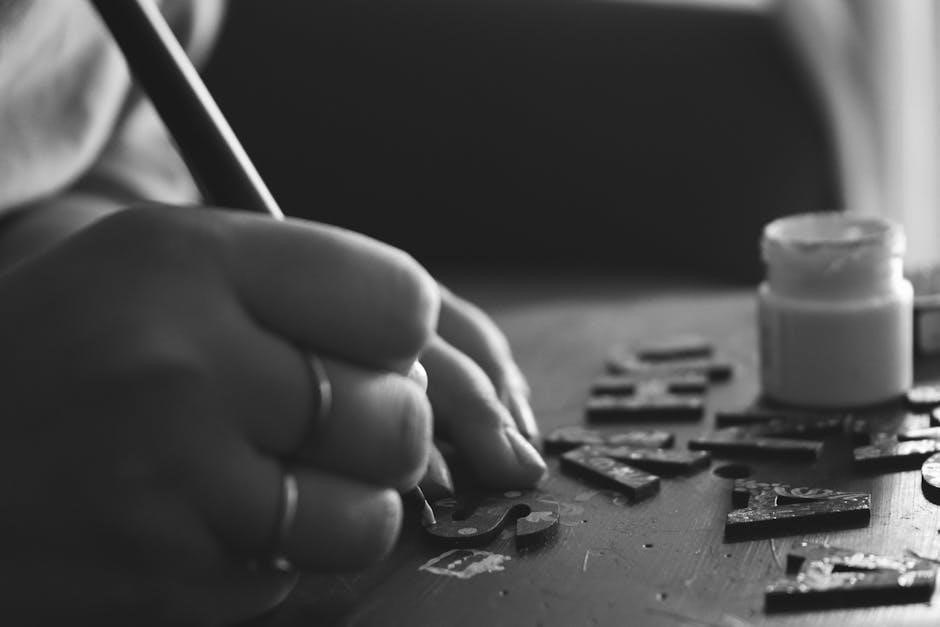
Letter carving, at its core, is the deliberate removal of material – typically stone, but also wood, slate, or even clay – to reveal a raised or recessed letterform. It’s a subtractive process demanding precision, patience, and a keen eye for detail. Unlike simply drawing letters, carving creates a tangible, three-dimensional inscription meant to endure.
This isn’t merely replication; it’s interpretation. A skilled carver doesn’t just copy a font; they imbue the letters with personality, considering the material’s characteristics and the overall design aesthetic. The depth, width, and angle of the cut all contribute to the letter’s visual weight and readability.
Historically, letter carving was vital for monumental inscriptions, tombstones, and architectural ornamentation. Today, it continues as a respected art form, practiced by both traditional artisans and contemporary artists seeking to connect with a timeless craft. It’s a slow, meditative process, yielding results that are both beautiful and lasting.
Historical Significance of Letter Carving
Letter carving’s roots stretch back millennia, evident in ancient Egyptian hieroglyphs and early Roman inscriptions. These weren’t simply communication; they were declarations of power, faith, and remembrance, meticulously etched into enduring stone. Throughout the medieval period, stonemasons and cathedral builders elevated carving to an art form, adorning sacred spaces with elaborate lettering and sculptural details.
The advent of movable type in the 15th century didn’t diminish carving’s importance. Instead, it spurred a renewed appreciation for letterforms, influencing both printed and carved designs. Victorian era saw a revival of Gothic and Roman styles, resulting in ornate gravestones and public monuments.
Today, understanding this history provides context and inspiration. Studying historical examples reveals evolving styles, techniques, and the cultural values embedded within each inscription, enriching contemporary practice.
Tools and Materials for Letter Carving
Successful carving demands quality tools – chisels, mallets, and rasps – paired with suitable stone, ensuring precision and longevity in your artistic endeavors.
Essential Carving Tools
A foundational toolkit for letter carving begins with a selection of steel chisels, varying in width and sweep. These are your primary shaping instruments, demanding regular sharpening for optimal performance. Alongside chisels, a mallet – traditionally wooden or rubber – delivers controlled force, preventing damage to both tool and stone.

V-tools are crucial for defining crisp letter lines, while gouges, with their curved blades, excel at removing larger material volumes and creating rounded forms. Rifflers, small hand tools with curved ends, are invaluable for refining details in tight spaces.
Rasps and files offer further shaping and smoothing capabilities. A pointing chisel allows for precise corner work. Don’t overlook the importance of sharpening stones, honing oil, and a secure workbench to hold your stone firmly during the carving process; these are equally essential components of a well-equipped letter carver’s workshop.
Types of Stone Suitable for Carving
Selecting the right stone is paramount for successful letter carving. Limestone, particularly varieties like Portland or Bath stone, is favored for its relative softness and ease of carving, making it ideal for beginners. Sandstone offers a slightly coarser texture and warm tones, lending itself well to rustic designs.
Marble, though more challenging, yields incredibly refined results, showcasing intricate detail and a beautiful polish. Granite, the hardest commonly carved stone, requires significant skill and specialized tools, but provides exceptional durability.
Slate, with its natural cleavage planes, can be creatively incorporated into designs. Alabaster, a softer stone, is excellent for practice and smaller pieces. Consider the stone’s grain, hardness, and color when choosing; each impacts the carving experience and final aesthetic.
Safety Equipment and Precautions
Letter carving demands respect for safety; dust and sharp tools present inherent risks. Always wear safety glasses or a face shield to protect your eyes from flying stone particles. A properly fitted dust mask or respirator is crucial to prevent inhalation of silica dust, which can cause serious lung damage.
Sturdy gloves protect hands from cuts and abrasions, while hearing protection is advisable when using power tools. Ensure your workspace is well-ventilated. Securely clamp the stone to prevent movement during carving.
Maintain sharp tools – dull tools require more force and are more likely to slip. Learn proper tool handling techniques and always carve away from your body. First-aid knowledge is essential; be prepared for minor cuts and abrasions.
Designing Your Lettering
Thoughtful design is paramount; carefully consider font choices, layout, and the stone’s dimensions to create harmonious and visually striking letterforms.
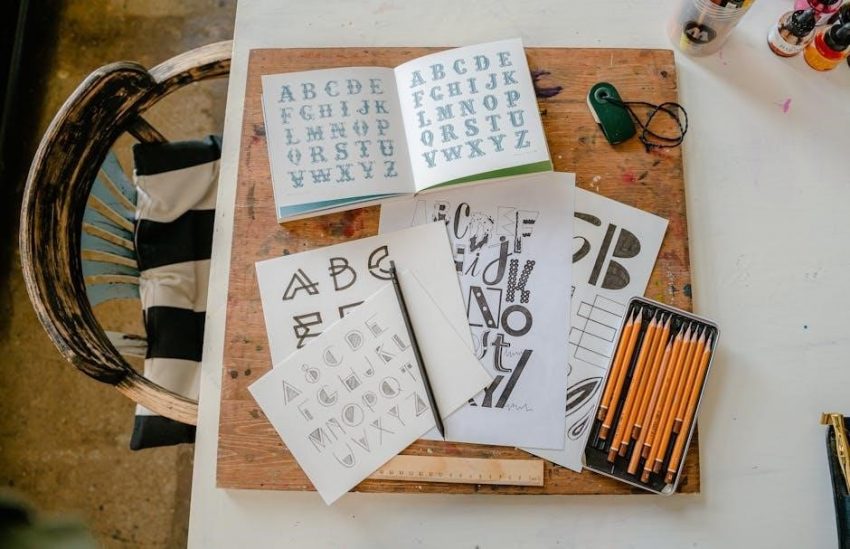
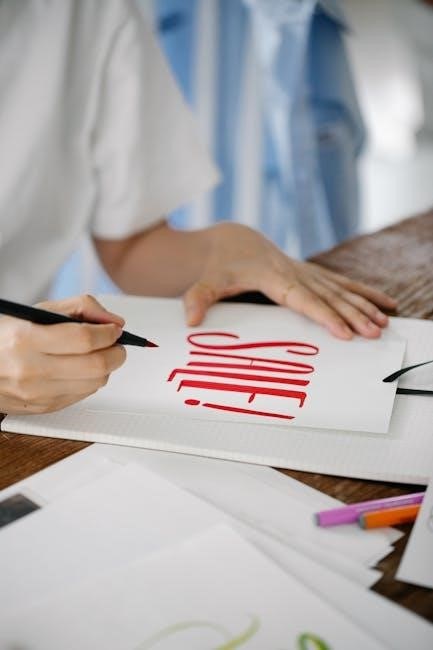
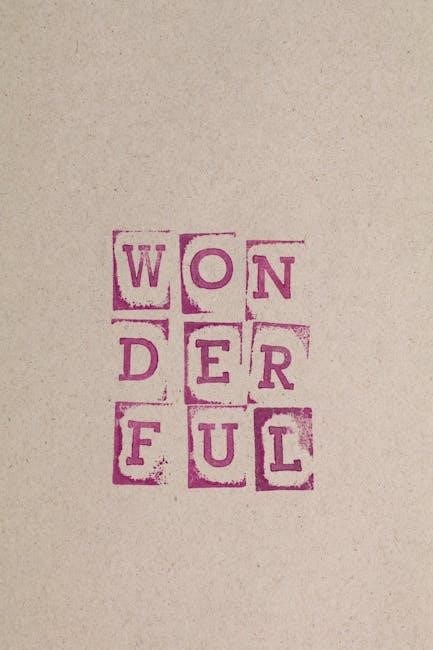
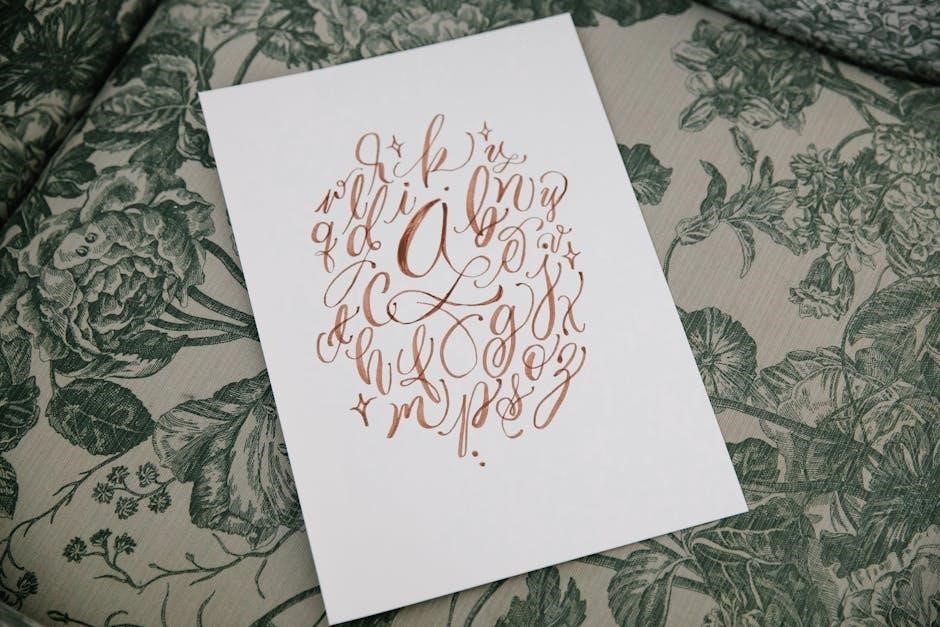
Choosing a Font and Style
Selecting the right font is foundational to successful letter carving. Consider the intended purpose and aesthetic of your piece. Roman capitals, with their classical elegance, are popular for formal inscriptions and monuments, offering a timeless quality. Gothic scripts, characterized by their dramatic, angular forms, suit more ornate or ecclesiastical work.
Serif fonts, possessing small decorative strokes, often convey tradition and readability, while sans-serif fonts present a cleaner, more modern appearance. Explore various styles – from bold and impactful to delicate and refined – to find one that resonates with your vision.
Don’t limit yourself! Experiment with different letterforms and combinations. Studying historical examples, found in resources like dedicated PDFs on the art of letter carving, can provide invaluable inspiration and guidance. Consider the stone’s characteristics; a simpler font might be best for a softer stone, while a harder stone can handle more intricate details.
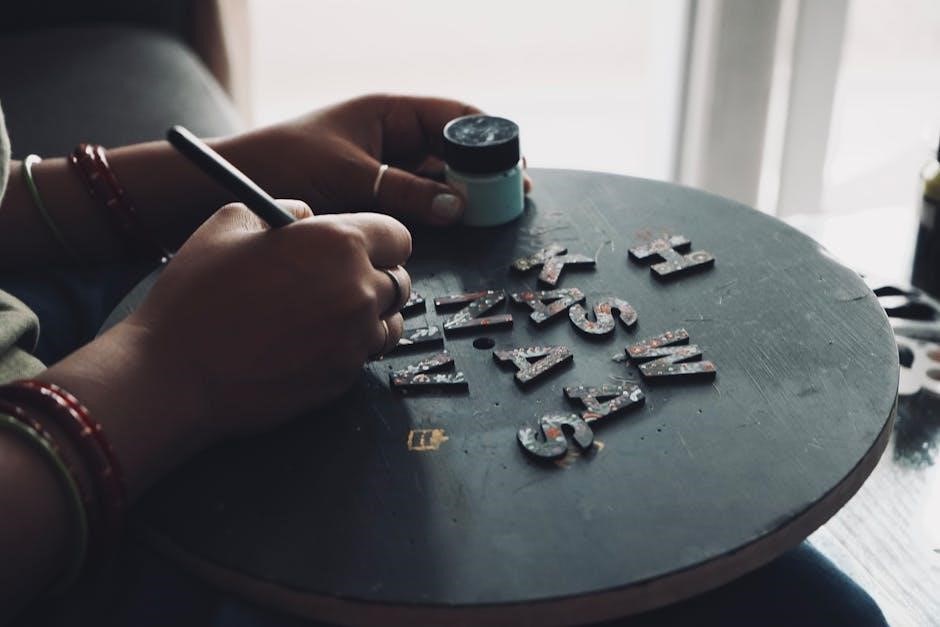
Transferring Designs to Stone
Accurate design transfer is crucial for precise letter carving. Several methods exist, each with its advantages. Graphite paper, placed between the design and the stone, allows tracing to create a faint outline. This is ideal for simpler designs and softer stones.
Alternatively, a pricking method involves poking small holes through the design onto the stone, then connecting the dots. This provides a more permanent guide, suitable for detailed work and harder materials. Stencils, cut from durable materials, offer repeatability and precision, particularly for repeated lettering.
Resources, like comprehensive PDFs on the art of letter carving, often detail these techniques with illustrative diagrams. Regardless of the method, ensure the design is securely fixed to prevent shifting during carving. Double-check alignment and clarity before commencing any cutting – a well-transferred design saves time and minimizes errors.
Understanding Letter Spacing and Kerning
Achieving visual harmony in letter carving relies heavily on mastering spacing and kerning. Letter spacing refers to the consistent distance between letters, creating a uniform rhythm. Kerning, however, addresses the space between specific letter pairs – like ‘AV’ or ‘TO’ – requiring individual adjustment for optical balance.
Uneven spacing can make lettering appear cramped or disjointed, detracting from its elegance. The ‘negative space’ – the areas around the letters – is as important as the letters themselves. Detailed guides within ‘The Art of Letter Carving’ PDF emphasize observing these spaces critically.
Practice judging these relationships visually; a consistent, pleasing flow is the goal. Consider the overall texture and readability of the inscription. Subtle adjustments can dramatically improve the final aesthetic, transforming a technically correct carving into a truly beautiful piece of art.
The Carving Process: Step-by-Step
Patiently begin with preparation, then carefully rough out shapes, and finally refine forms; detailed guidance awaits within ‘The Art of Letter Carving’ PDF.
Preparing the Stone Surface
Before embarking on the actual carving, meticulous stone surface preparation is absolutely crucial for achieving clean, defined letterforms and preventing chipping or fracturing during the process. Begin by thoroughly cleaning the stone to remove any dirt, dust, or loose particles – a stiff brush and water are often sufficient, though more stubborn grime might require a mild detergent.
Next, assess the stone for any existing flaws or weaknesses; these should be carefully considered when positioning your design. If the stone has a rough texture, consider using abrasive tools, like sandpaper or a grinding stone, to create a smoother, more consistent surface.
‘The Art of Letter Carving’ PDF emphasizes the importance of establishing a clear layout; lightly marking the boundaries of your lettering area with a pencil or charcoal will help maintain focus and proportion throughout the carving journey; Remember, a well-prepared surface is the foundation for a successful and beautiful piece!
Roughing Out the Letter Shape
Once the stone surface is prepared, the next stage involves ‘roughing out’ the letter shapes – essentially removing the bulk of the unwanted stone to define the basic form of each character. Utilizing appropriate carving tools, such as chisels and mallets, begin by carefully outlining the letter’s perimeter, gradually working inwards.
‘The Art of Letter Carving’ PDF suggests starting with wider tools for faster material removal, then transitioning to narrower chisels for greater control. Avoid overly aggressive blows; instead, focus on controlled, deliberate strikes. Regularly step back to assess your progress and compare it to your original design.
Remember to maintain a consistent depth and angle throughout this stage, establishing the foundational volume of each letter. This initial shaping doesn’t require precision, but accuracy here will significantly simplify the refinement process later on.
Refining the Letter Form
After roughing out the letter shapes, the refining stage demands patience and precision. Switching to smaller, more detailed carving tools – such as gouges and V-tools – begin to sculpt the finer aspects of each letter. ‘The Art of Letter Carving’ PDF emphasizes the importance of carefully following the lines of your design, gradually smoothing curves and sharpening edges.
Pay close attention to the letter’s internal spaces, ensuring they are clean and well-defined. Regularly check your work against the original template, making subtle adjustments as needed. This stage is about achieving clarity and elegance in the letterforms.
Controlled cuts and a light touch are crucial; avoid rushing, as mistakes can be difficult to correct. Consistent angles and depths contribute to a professional finish, bringing your design to life.
Advanced Techniques in Letter Carving
Mastering intricate designs requires exploring relief and incised carving, alongside decorative flourishes; ‘The Art of Letter Carving’ PDF guides you.
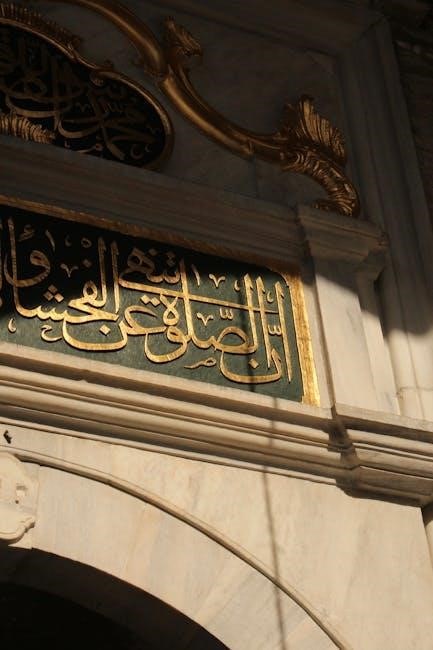
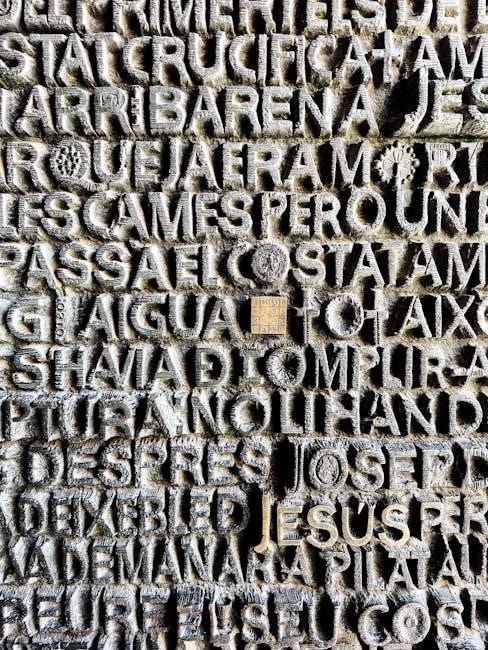
Relief Carving vs. Incised Carving
Relief carving elevates the letters above the stone surface, creating a sculptural, three-dimensional effect; think of a raised inscription on a monument. This technique demands precise control to define the letter’s edges and maintain consistent depth. Conversely, incised carving involves cutting into the stone, leaving the letters recessed. This method offers a more subtle, elegant aesthetic, often favored for memorial stones or decorative panels.
‘The Art of Letter Carving’ PDF comprehensively details both approaches, illustrating the distinct tool handling and design considerations for each. It emphasizes how relief carving benefits from broader gouges and chisels for material removal, while incised carving relies on V-tools for clean, defined lines. Understanding the stone’s grain and hardness is crucial for successful execution in either style, and the PDF provides invaluable insights into these factors.
Adding Decorative Elements
Beyond the letters themselves, enriching your carvings with decorative elements elevates the artistry. These can range from simple rule lines above and below inscriptions to intricate floral motifs, geometric patterns, or symbolic imagery. ‘The Art of Letter Carving’ PDF showcases numerous examples, demonstrating how thoughtful embellishments complement and enhance the lettering.
The PDF stresses the importance of harmonious integration; decorations shouldn’t overwhelm the primary message. Techniques like graver work for fine details and stippling for textured backgrounds are explored. It also covers incorporating negative space effectively. Mastering these skills requires practice, but the PDF’s detailed illustrations and step-by-step guides provide a solid foundation for adding sophisticated flourishes to your letter carving projects, truly personalizing each piece.
Finishing and Polishing Techniques
The final stages of letter carving – finishing and polishing – are crucial for revealing the stone’s beauty and protecting your work. ‘The Art of Letter Carving’ PDF dedicates significant attention to these processes, detailing various methods for achieving different effects. From abrasive techniques using sandpaper and polishing compounds to the application of protective waxes and oils, the guide offers comprehensive instruction.
The PDF emphasizes understanding the stone’s properties; softer stones require gentler approaches. It covers techniques like burnishing to create a subtle sheen and lapping for a high-gloss finish. Proper polishing not only enhances the visual appeal but also accentuates the crispness of the carved lines. Careful attention to these details ensures your letter carving will endure and be admired for generations, showcasing the stone’s inherent qualities.
Resources for Further Learning
Dive deeper into this craft; ‘The Art of Letter Carving’ PDF is invaluable, alongside online forums and workshops, for continued skill development.
Recommended Books and PDFs (e.g., ‘The Art of Letter Carving’)
For aspiring and experienced carvers, several resources offer invaluable guidance. ‘The Art of Letter Carving’ by David Lee Featherstone is widely considered a cornerstone text, providing comprehensive instruction from foundational techniques to advanced stylistic explorations. This book, often available as a PDF for convenient access, details tool usage, design principles, and the nuances of various stone types.
Beyond Featherstone’s work, consider “Fundamentals of Relief Carving” by Eleanor Davison, offering a broader perspective applicable to lettering. Numerous free PDFs and online articles supplement these texts, covering specific aspects like V-tool carving or gilding. Websites dedicated to calligraphy and stone masonry frequently host downloadable guides. Remember to critically evaluate online resources, prioritizing those from established carvers or reputable institutions. Exploring these materials will significantly enhance your understanding and skill set.
Online Communities and Workshops
Engaging with fellow carvers is crucial for growth and inspiration. Several online forums, such as the Stone Carving Forum and Lettercarving.net, provide platforms for sharing work, asking questions, and receiving constructive criticism. These communities often host downloadable resources, including workshop notes and design templates, complementing PDF guides like ‘The Art of Letter Carving.’
Numerous instructors offer online workshops, ranging from beginner introductions to specialized techniques. Platforms like Skillshare and Udemy feature courses dedicated to letter carving, often including video demonstrations and downloadable project files. Consider joining a local stone carving guild; many now offer virtual meetings and workshops. Actively participating in these spaces fosters a supportive learning environment and expands your network within the craft, accelerating your progress and enjoyment.